Showing posts with label cook book. Show all posts

Friday, January 11, 2013

Cinnamon Rolls

OK so I made a mass amount of Cinnamon Rolls, which I did on purpose. I wanted to see how well they would freeze and then be reheated. I have to say they did well. I wouldn't want to keep them frozen for more than 3 months. That's just me though. So anyways here you go:


Dry ingredients


Milk, butter, sugar, and salt


Add egg to dry ingredients


Mixed together :)
 ***Somewhere along the line I forgot to take pictures of rolling it out and adding the filling  to it, OOPS!

Roll her up


Cut into equal quarters, about a half inch I would say.

Yummy


Prep: 45 Minutes
Rise: 1 hour and 30 minutes
Rest: 10 minutes
Bake: 20 minutes
Oven: 375 degrees
Makes 24 rolls
 
4 to 41/2 cups all purpose flour
1package active dry yeast
1 cup milk
1/3 cup granulated sugar
1/3 cup butter or margarine
1/2 teaspoon salt
2 eggs
3/4 cup packed brown sugar
1/4 cup all-purpose flour
1 Tbsp ground cinnamon
1/3 cup butter or margarine

  1. In a large mixing bowl combined 2 cups of the flour and the yeast; set aside. In a small saucepan heat and stir milk, granulated sugar, and 1/3 cup butter, and salt just until warm (120 - 130 degrees) and butter almost melts; add to flour mixture along with eggs. Beat with an electric mixture on low to medium speed for 30 seconds, scraping bowl. Beat on high speed for 3 minutes. Using a wooden spoon, stir in as much of the remaining 2-21/2 cups of flour as you can.
  2. Turn dough out onto a floured surface. Knead in enough remaining four to make a moderately soft dough that is smooth and elastic (3-5 minutes). Shape dough into a ball. Place dough in a lightly greased bowl, turn once to grease ball. Cover and let rise in a warm place until doubled in size (1 -11/2 hours).
  3. Punch dough down. Turn onto a lightly floured surface. Divide in half. Cover and let rest 10 minutes. Lightly grease two baking pans; set aside. For filling, stir together brown sugar, 1/4 cup flour, and cinnamon; using a pastry blender or fork, cut in 1/3 cup butter until mixture resembles coarse crumbs.
  4. Roll each dough half into a 12x8 inch rectangle. Sprinkle filling over dough, leaving 1 inch unfilled along one of the long sides. Roll up each rectangle, starting from the filled long side. Pinch dough to seal seams. Slice each rolled rectangle into 12 equal pieces. Arrange in prepared pans. Cover and let rise in a warm place until nearly doubled in size (30 minutes).
  5. Preheat oven to 375F. Bake for 20 to 25 minutes or until golden. Cool about 5 minutes; remove from pans. Enjoy!
*Better Homes and Gardens New Cook Book

Thank you!

Follow me, like me, leave me a comment :)

Sunday, December 9, 2012

Smokey Cheese Ball

This was soooo easy to make. It was the hit of the party I took it too, and I will be making it again to go with Christmas dinner. I completely forgot to take a picture of the finished ball. I thought about taking a picture of what was left but there wasn't really anything left. :) I will upload a picture when I make it here in a couple weeks. I will warn you you see those little cheese balls in the store that are like 1 cup max. This makes 3-4 cup cheese ball its massive!

I like being crazy so I mixed two different cheeses together, you could do one by all means. Change it for your taste. Or throw a little of all types in it. I used Smoked Gouda and Sharp Cheddar along with the rest of the recipe. It smelled soo amazing also. Highly recommended.

Prep: 15 minutes
Chill: 4 to 24 hours
Stand: 45 minutes
Makes: 3 1/2 cups

2- 8 ounces packages cream cheese
2 cups finely shredded smoked cheddar, Swiss, or Gouda cheese
1/2 cup butter or margarine
2 tablespoons milk
2 teaspoons steak sauce ( I used A1)
1 cup finely chopped nuts, toasted. ( I didn't toast mine, I just bought some chopped nuts ( hazelnuts , because the Mr. grabbed the wrong kind still yummy though)

1. In a mixing bowl let cream cheese, shredded cheese, and butter stand at room temperature for 30 minutes. Add milk and steak sauce, beat until fluffy. Cover and chill for 4 to 24 hours.

2. Shape mixture into a ball, roll in nuts. Lets stand for 15 minutes. Serve with crackers.

French Bread

I am forever going to be making my own French bread. This was so delicious, it froze nicely, it baked well. Two thumbs up! I precut my french bread into smaller portions so that I could just grab out of the freezer and go. I have made garlic bread, and cheesy bread.

I would say if you do make some and freeze it, I wouldn't let it sit in the freezer past 3 months. It would probably start getting a stale taste and what not.


Prep: 40 Minutes
Rise: 1 hour and 35 minutes
Rest: 10 minutes
Bake: 35 minutes
Oven: 375 degrees
Makes 2 loaves (28 slices)


 51/2-6 cups all-purpose flour
2 packages active dry yeast
11/2 teaspoons salt
2 cups warm water ( 120 to 130 degrees)
Cornmeal
1 egg white, slightly beaten
1 tablespoon water
1. In a large mixing bowl stir together 2 cups of the flour, the yeast, and salt. Add the 2 cups warm water to the flour mixture. Beat with an electric mixer on low to medium speed for 30 seconds, scraping bowl constantly. Beat on high speed for 3 minutes. Using a wooden spoon, stir in as much of the remaining flour as you can.

2. Turn dough out onto a lightly floured surface. Knead in enough remaining flour to make a stiff dough that is smooth and elastic ( 8 to 10 minutes total). Shape dough into a ball. Place in a lightly greased bowl, turning once to grease dough surface. Cover, let rise in a warm place until dough doubles in size ( about 1 hour).

3. Punch dough down. Turn dough out onto a lightly floured surface. Divide dough in half. Cover, let rest for 10 minutes. Meanwhile, lightly grease a baking  sheet, sprinkle greased baking sheet with cornmeal.

4. Roll each dough half into a 15x10 inch rectangle. Tightly roll up, starting from a long side, seal well. If desired, pinch and slightly pull ends to taper them. Place shaped dough, seam sides down on prepared baking sheet. In a small  bowl stir together egg white and the 1 tablespoon water. Brush some of the egg white mixture over loaf tops. Let rise until nearly double in size about 35-45 minutes.

5. Preheat oven to 375 degree. Using a sharp knife, make three or four diagonal cutes abouts 1/4 deep across each loaf top. Bake for 20 minutes. Brush again with some of the egg white mixture. Continue baking for 15 to 20 minutes more or until bread sounds hollow when lightly tapped. Immediately remove loaves from baking sheet. Cool on wire racks.


Recipe courtesy of Better Homes and Garden Cookbook.


Wednesday, November 7, 2012

Banana Muffins

What do you do when you have left over bananas that know one will eat?!?!? Make BANANA MUFFINS! Then everyone eats them :) No wasteful food in this household, everything gets brought back to life.

Got everything ready to go!

Added flour and such, made my well and added the milk and egg.

Just keep stirring, just keep stirring ( watch Finding Nemo one to many times :) )

Add caption

Notice two missing my girls just couldn't wait to eat them :) Proud Mama

Receipe Courtesy of Better Homes and Garden Cookbook.

Muffins

Prep time 10 minutes 
Bake time 18 minutes
Oven 400F
Makes 12 or so muffins

1 3/4 Cups all- purpose flour
1/3 cups sugar
2 teaspoons baking powder
1/4 teaspoon salt
1 egg beaten
3/4 cups milk
1/4 cup cooking oil ( I use olive oil for everything and I never notice a difference)


  1. Preheat oven to 400F. Grease muffin tin or use muffin cups or lined paper bake cups. Set aside. In a medium bowl combined flour, sugar, baking powder, and salt. Make a well in center of mixture, set aside.
  2. In another bowl combined egg, milk, and oil. Add egg mixture all at once to the flour mixture. Stir just until moistened ( batter should be lumpy.
  3. Spoon batter into prepared muffin cups, filling each two-thirds full. Bake for 18-20 minutes or until golden brown and a wooden toothpick inserted in centers comes out clean. Cool in muffin cups on a wire rack for 5 minutes. Remove from muffin cups, serve warm.
  • Banana Muffins, prepare as at left, greasing muffins cups ( do not use paper bake cups ). Reduce milk to 1/2 cup. Stir 3/4 cups mashed banana and 1/2 cup chopped nuts ( I don't prefer nuts in my baking products, though I do enjoy them by themselves. Weird I know ) into flour mixture along with the egg mixture.
I hope you enjoy making these and finding a new purpose for your older, ripened bananas.

Monday, November 5, 2012

New things are coming out soon! .........

I'm trying something new tonight for dinner and I just cant wait to share the outcome. I have tried a couple new venison recipes that I will be sharing SOON! One has to do with back straps, I personally have never really been much of a fan for them. Though when talking to a relative he gave me a few pointers on how to remove the "gamey taste" I do believe it did the trick. I sooo enjoyed the back straps and will be enjoying them more often now. :) Also I did a Beef-n-noodle version but with venison and a few other added ingredients that I don't normally put in my beef-n-noodle dinner. But it was sooo delicious!

Stay tuned for the updated post to be coming out! recipes included. Please also take a moment and leave a comment. I would love to here if you enjoy what I share! Also let me know what you may want to hear about???

The more I learn everyday the closer we are to be less in debt, more money in our savings, and living off the land that is provided for us. I wish I would have learned more sooner and been a little more opened minded when I was younger.

Wednesday, July 25, 2012

Scratch Whole Wheat Bread

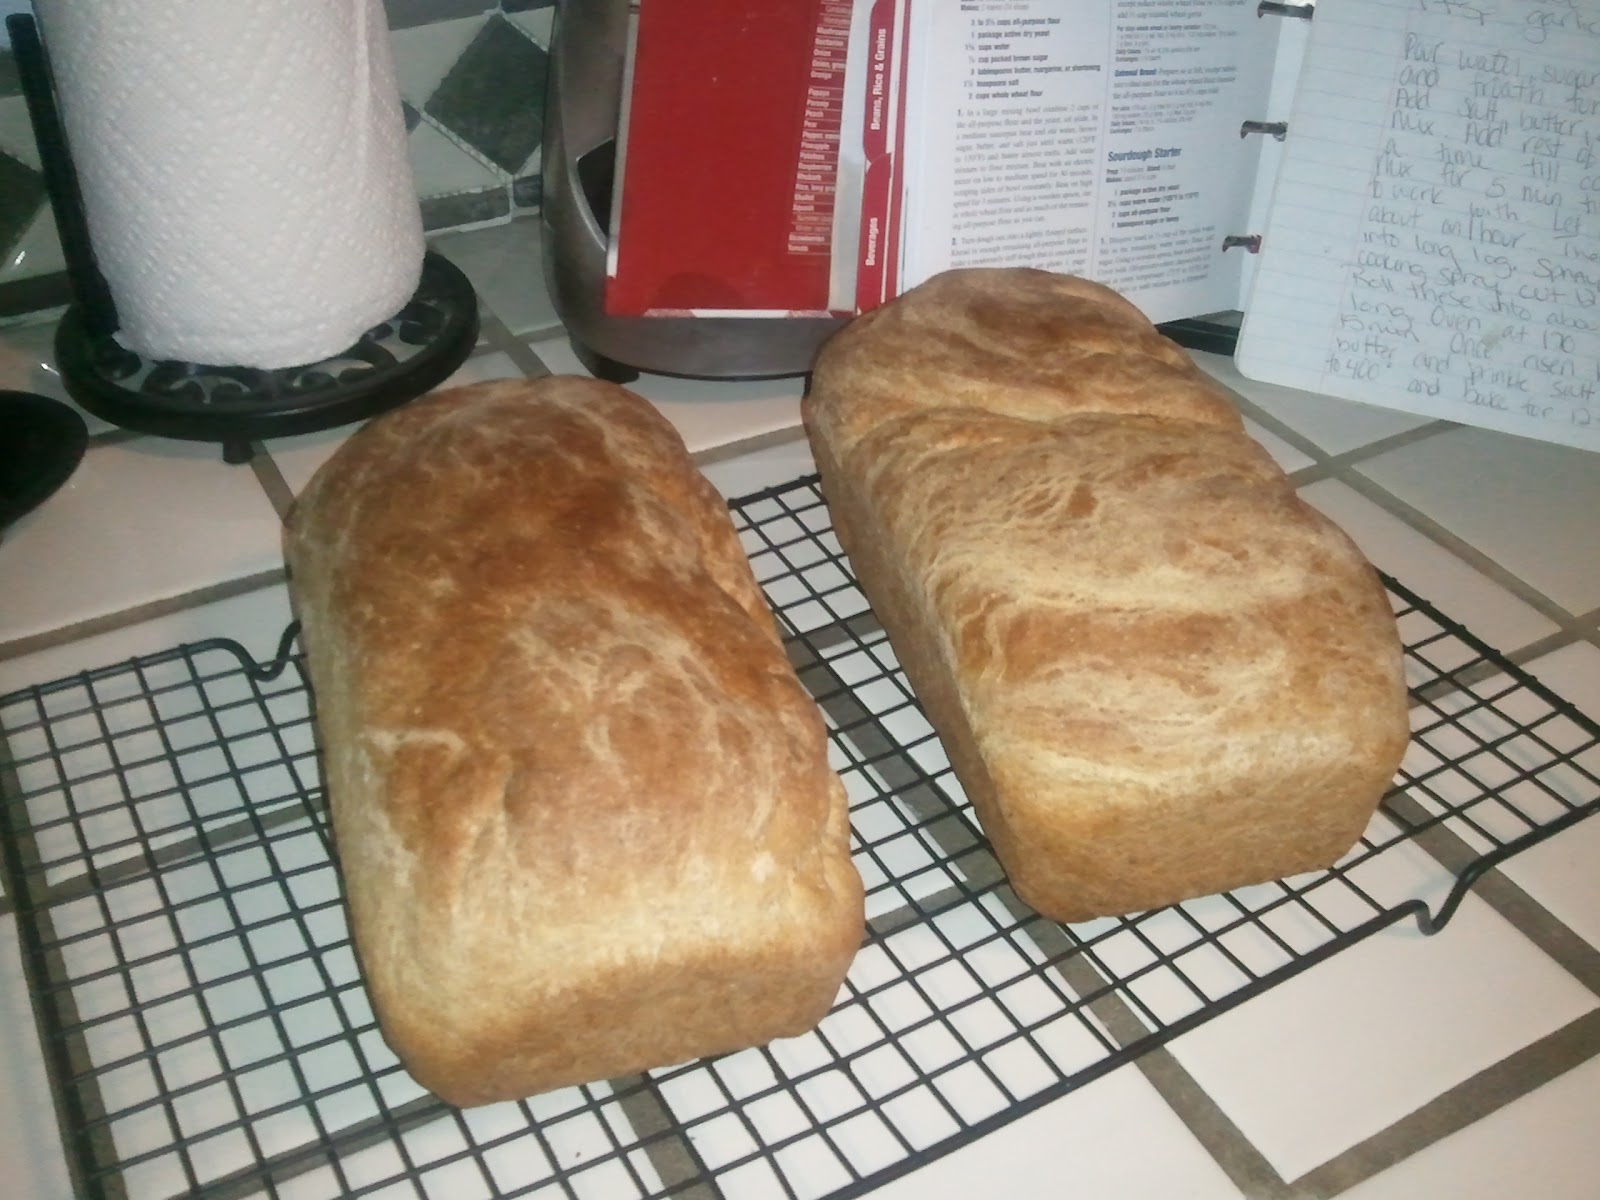
I have had this whole new window open up for my 2012 year. I am taking full advantage of everything and everyday. I have made some BIG life changes and I hope that my daughters our taking note. I mean they are taking a BIG interest and wanting to help me so, I think were doing good. The other day I was flipping threw my cookbook wanting to make something. I decided that we go through sooo much bread I wonder how hard it would be to make it. Lucky me I had a lot of what was needed all ready on hand. I don't know if its just me, but I sometimes go threw the store and grab random baking things....... like the other month whole wheat flour. Came in handy so perfect!

So I can say that the process was really a whole lot easier than I had thought. I really enjoyed it too. The Mr. even chose it over the store bread so that made me feel good. I think I will be making more every week. :)

The supplies

I'm guessing my looking through my album I must have some reason for not having any in between photos, lol. So I leave you with this:


TaDa!!! The amazing Whole Wheat Bread.


It was super delicious and yummy. Im giving recipe props to Better Homes & Garden the New Cook Book, :) Enjoy!